With spring around the corner and the hope of cool weather behind you, this might be the perfect time to consider updating your lawn’s appearance! One of the quickest and most thorough ways to do this is to install sod. While the process itself requires a good amount of labor, the end result will leave you with a beautiful, lush lawn that will give you a leg up on maintaining your lawn’s health.
Before you dig into the process of laying sod, give some attention to the steps involved and what each step entails:
- Measure your lawn and order the sod
- Prepare the soil
- Install the new sod
- Fill in any gaps
- Water and fertilize
Measure And Order The Sod
The first thing you need to do before you order sod is measure the area of your lawn that you want to cover. It’s good to give yourself some leeway so you have extra sod to work with in case of any mishaps. Ordering too little sod can leave your lawn with unsightly bare spots that you’ll have to work hard to disguise. Try to coordinate the sod delivery to coincide with a chunk of time that you’ll be able to focus on the installation.
Prepare The Soil

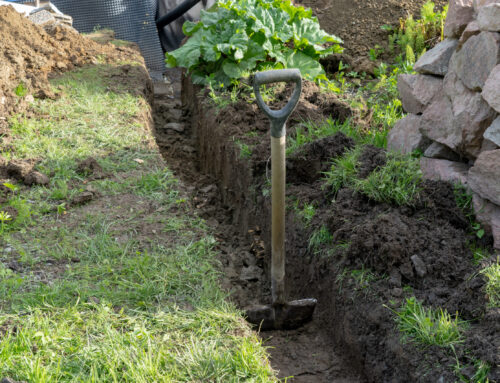
Once your sod order is placed, it’s important to focus on preparing your soil for the next steps. You can’t lay sod on top of already existing lawn remnants or weeds, so you need to make sure to thoroughly clear out your lawn down to the soil level. Use an herbicide if you have a considerable amount of plant life remaining. Remove any stray rocks and debris to provide a smooth surface for your sod to bind into.
Loosening the soil is an extremely important part of the sod laying process as loose soil allows sod to bind more easily. Water the soil and apply compost to suppress new growth from creeping through before your sod arrives. It’s important to make sure your soil is extremely level and at least 1 inch below the sidewalk level.
Install The Sod
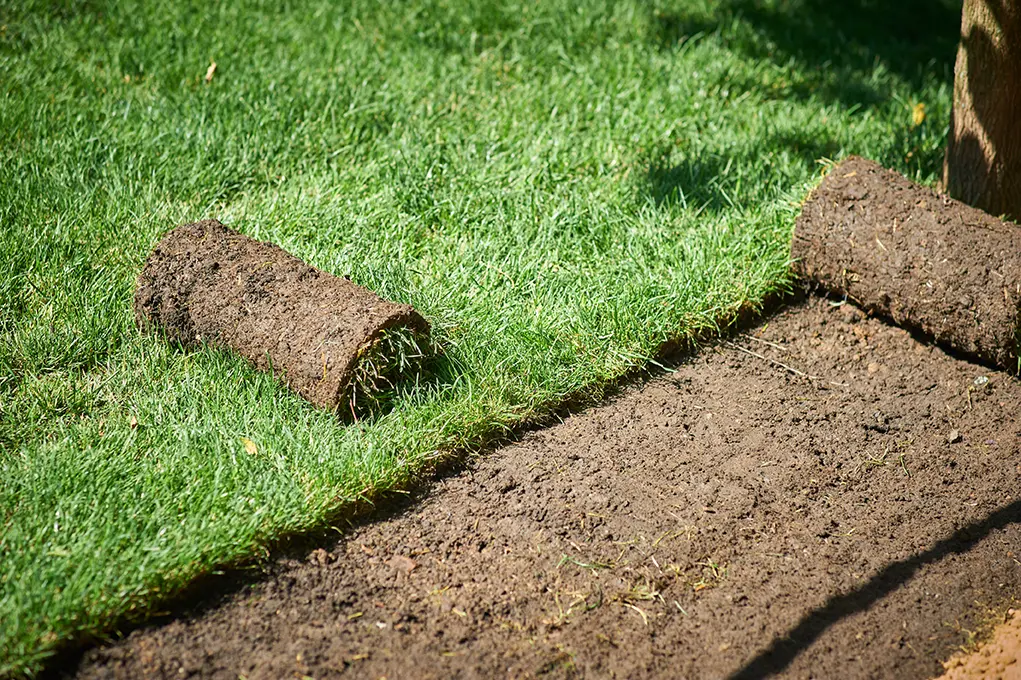
When installation day comes, it’s important to lay the sod as neatly and quickly as can be done in an efficient manner. Try to make straight lines, butting the ends of each strip of sod together as close as possible. Staggering the joints of each row will help the sod to meld together with a natural look. A sod roller is a helpful tool to use to guarantee that your sod and soil are pressed together adequately.
Fill In The Gaps
Once the initial work of covering the soil is finished, check for any gaps or missing sections. Using leftovers from the sod strips, use a utility knife or a similar tool to cut pieces small enough to fit into the spaces. If your lawn curves or creates any odd spaces, you can use the excess soil to fill in the gaps.
Water And Fertilize To Maintain Sod
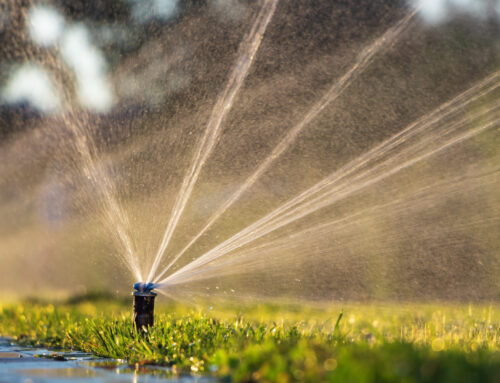
As soon as the sod is in place as well as it can be, give your lawn a thorough soaking to encourage the sod and soil to bind together. Daily watering for a week or so after installation is a must to encourage your sod to continue to grow into the ground.
Sod Installation In Keller, Texas And Surrounding Areas
Sod installation is a common way to improve your property’s appearance, especially in Texas where lawns often take a beating from the scorching sun. If you’re ready to upgrade your lawn’s appearance, sod installation is a convenient and satisfying option to consider. At R&O Landscaping we offer professional sod installation to save you time, energy and the physical labor required to carry out sod installation properly. Call us today at 817-944-4592 to request a free quote for your sod installation project!


